The always fantastic David of Budget Fabulous Films just dropped a promotional video for The Telling Room, a non-profit writing center in Portland Maine that helps create great storytellers (and was just awarded a National Arts and Humanities Youth Program Award by Michelle Obama herself.) I know what you’re saying “oh yeah, I’m definitely going to watch a promo video for a non-profit.” Shut up, just watch it.
Category: Bright Ideas
Bright Ideas
Little John Island
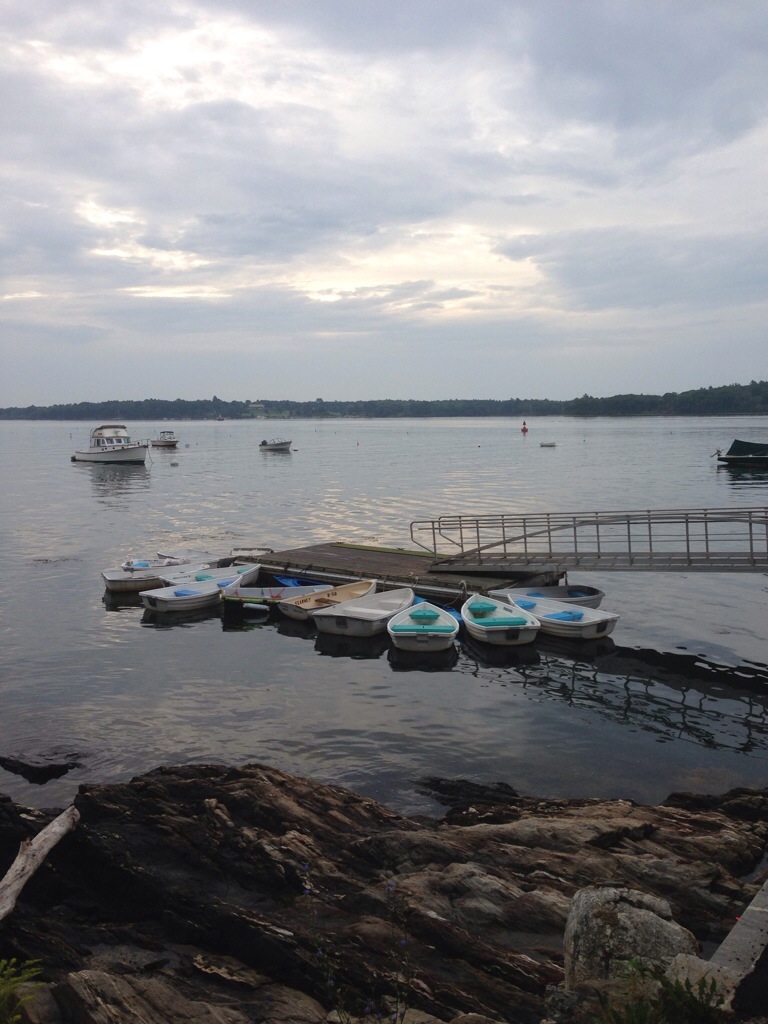
This is about 15 miles into a loop that we have been riding lately. It’s a very nice calm spot to eat a Bonk Breaker and talk about pretending an exploded red hot dog is your penis.
Church Scene Panorama

Far left: 1200 HMI w/ Hampshire frost
Center: Arri AS18 shooting into a 12’x12′ unbleached muslin
Right: 1200 HMI shooting into 8’x8′ muslin
Far Right: 4’x4 Kino
Very fun scene yesterday morning. Lots of creeping and full speed doorway dolly action.
Bike Gallows
This mornings shoot got pushed back 5 hours due to weather so I built the new bike organization system.
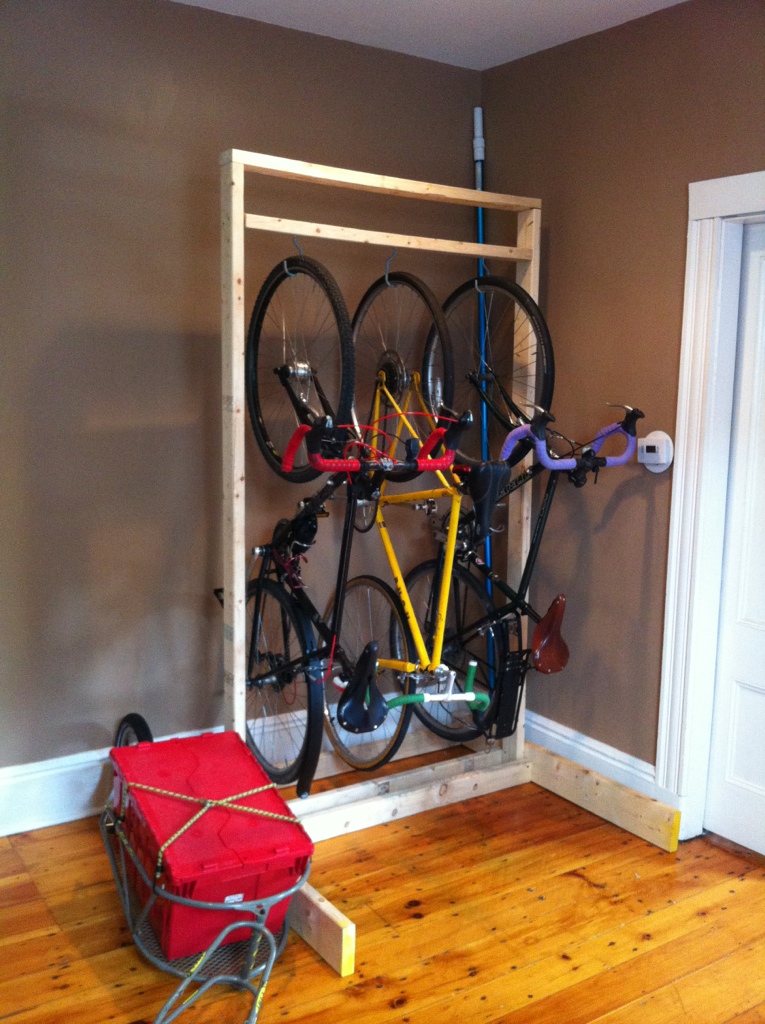
Three bikes in the middle and the BOB trailer will have its own hook on the left side. Thinking about some kind of shelf on top too.
Logging Road Ride
I had to ford the river today. Not a single oxen lost.

Warmth

It’s not everyday you get to burn a coffin!
To-Do: Visit Ukraine
I’m not a fan of Red Bull, as a drink, but the things that they have made possible for sports is incredible.
Covered Wagon
Last week, I finally made a covered wagon light. If you’re not familiar, a covered wagon is a diffused light for filmmaking made mostly with supplies available at a typical hardware store. They use porcelain sockets to hold household bulbs in the middle of a tube of diffusion. The diffusion material is held in place with chicken wire! There are two dimmers that each control two sockets each. I first used one when Ashton brought his pair up last June for “Backgammon.” If I remember correctly, he had his skinned with unbleached muslin and quarter grid. They worked well and often during the month long shoot.
I made mine almost exactly the way Ashton made his, only with one difference. His first and third sockets were wired to one dimmer and second and fourth sockets were wired to the other dimmer. In my wagon, I wired the first and fourth socket to one dimmer and second and third sockets to the other dimmer. Very subtle difference, but I figured I’d try it out.
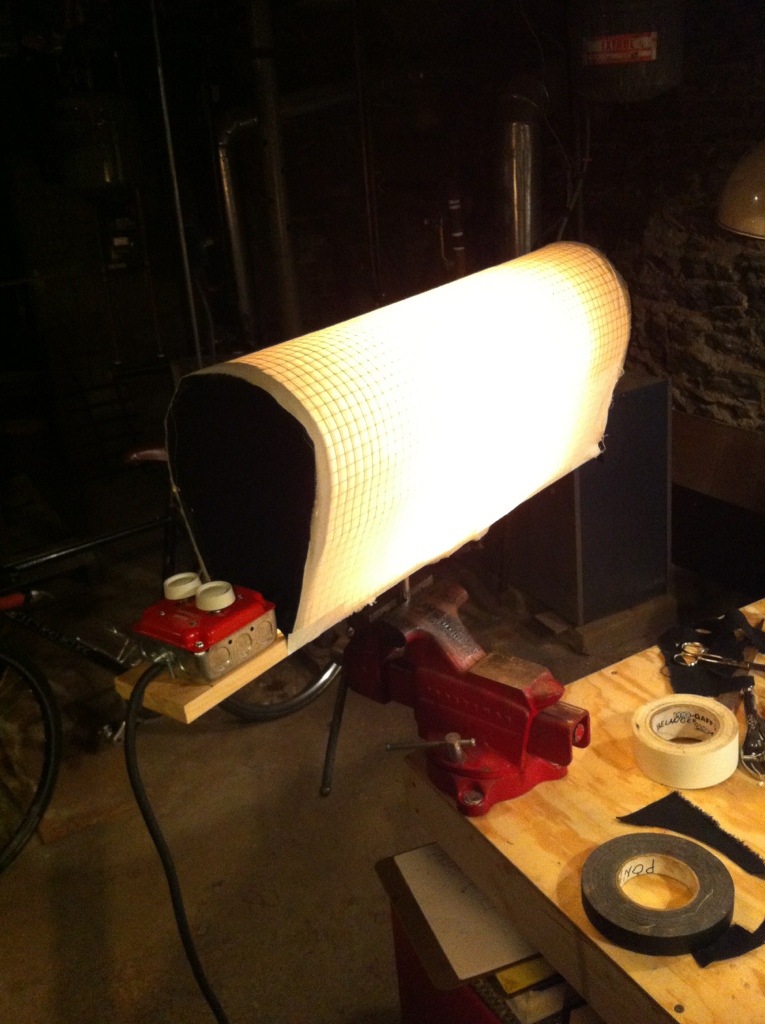
Finishing it up on the workbench. On the bottom of the 1″x4″ board is a baby plate, which makes it easy to mount in a stand. The plate can be quickly removed so the wagon sits flat on the ground.

Lighting up a bar scene a few nights ago with Dean Merrill. This is one of the many shots we lit with the covered wagon.
Total cost of the wagon was definitely less than $50, but I sourced some of the parts for free. The sockets I used were the Leviton 9880. There are cheaper options for sockets, but I liked these because the contacts are covered up and maybe a little bit safer. Since the wattage is fairly low, you can get away with wiring the bulk of this with 16/2 wire from a simple extension cords. You’ll need two dimmers, which should be able to handle 600 watts each, a double gang box to house them and a double cover plate. I used a few feet of 16/3 wire and a grounded plug to finish off the electrical work. The chicken wire doesn’t have to be anything to special. I used a tougher kind than I really needed because my landlord gave it to me. Freebie. I used scrap duvetyne to cover the ends, but scrap black wrap will work just as well. As for diffusion, you can chose whatever kind works best for your situation. I used unbleached muslin because I love the color and texture it creates. I think it matches the type of lighting that we would use the covered wagon for. Bleached muslin, grid cloth, and diffusion gel are all good options too.
Coffee Grinder
“Instagram is killing your blog!”
Ashlinn was right, I’ve gravitated towards sharing photos on Instagram rather than here. There used to be a time when I could take a picture and instantly determine if it was going on the blog or the ‘gram. Lately, most things have been going towards the latter. I’m not sure if it’s because I stopped taking blog worthy pictures or if the scopes have changed. Regardless, here are a few photos of the coffee grinder I rebuilt after dropping it on the floor and cracking the plastic housing.

The body is made from stacked plywood which was cut to approximately the same size with a hole in the center to accommodate the motor. The body was then laid on a belt sander to normalize the edges. I liked the look of it before, with each layer being slightly wider or narrower than the previous, but this gives it a much cleaner look. The only original parts are the motor, bowl and blade. The jar threads into a lid ring, which is press fit into the top layer of plywood.

Top view.
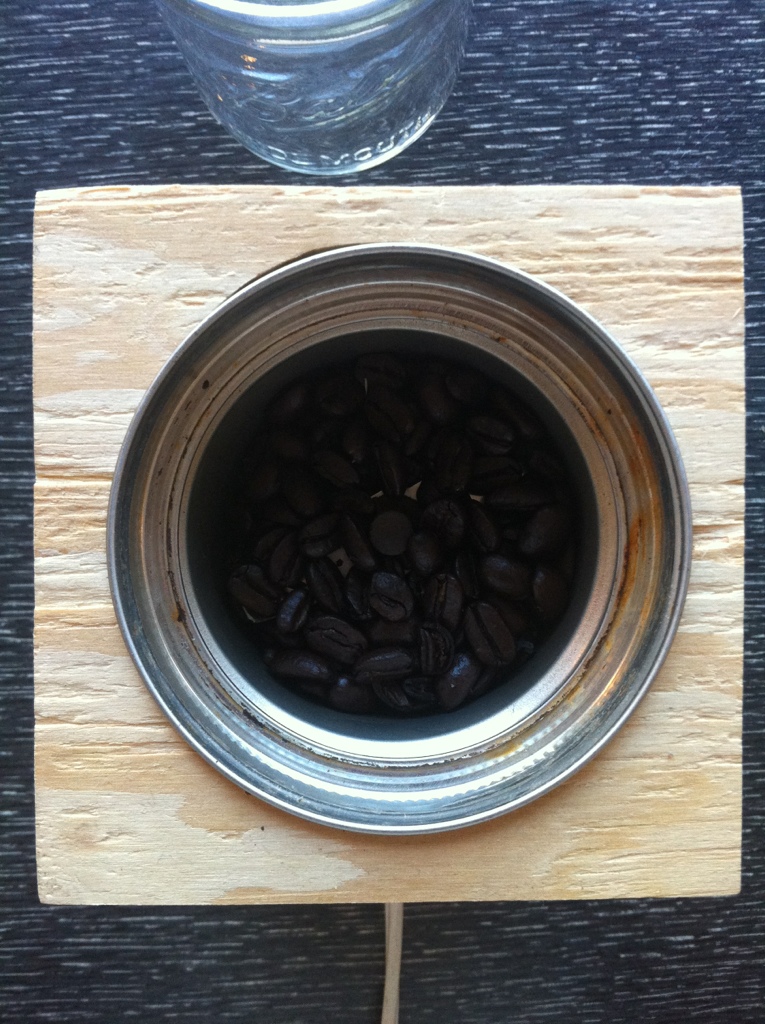
Beans in the bowl, pre-grind.
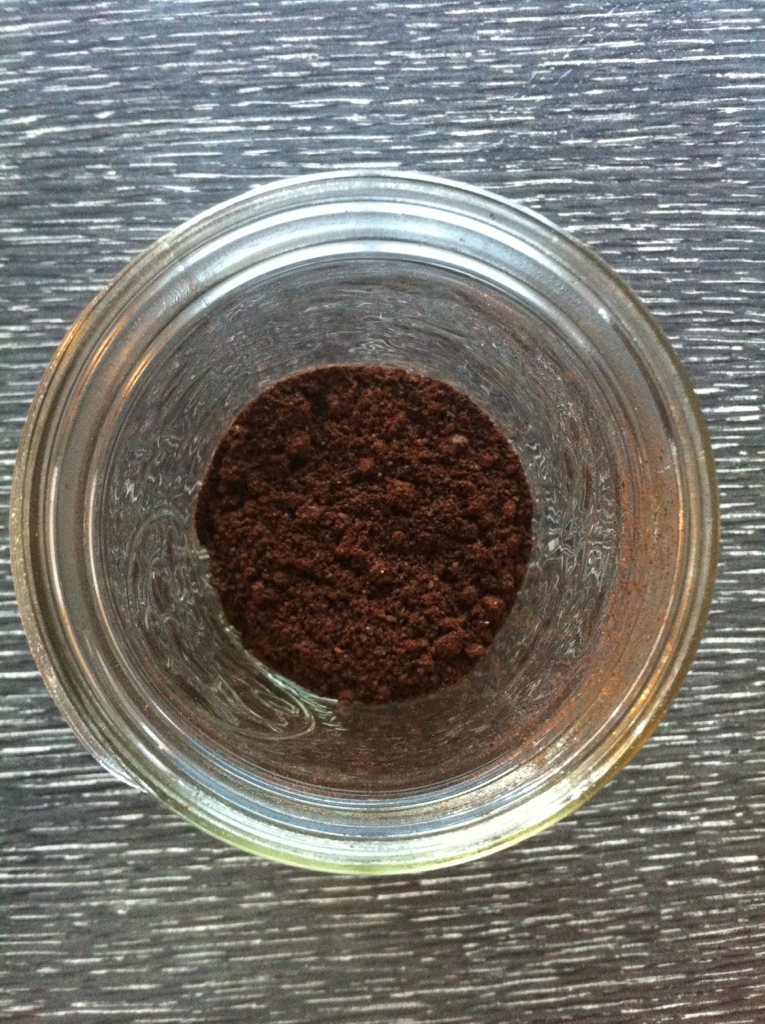
Beans in the jar, post-grind.

End result.
